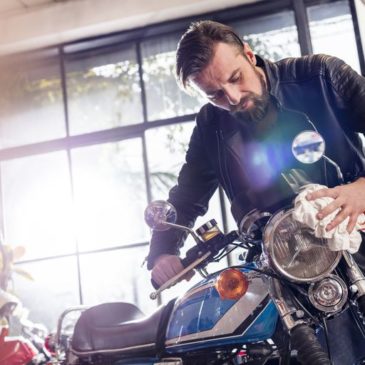
Everyone who has attended a preschool can pick up a brush and paint, right? At that age, there are no welding or engine building classes. At least not at my public school. Painting your motorcycle has an approachability and simplicity that other artistries don’t. In spite of the early painting exposure, only a few master the art of graphics, color, and finishing.
Other than riding your motorcycle, customizing it to fit your taste and style is a great feeling. Whether you love taking up the challenge of doing it yourself or you trying to save some money for another project, at one point, you may consider painting your ride. Nonetheless, you can always seek professional paint services from a renowned company. The following are the necessary steps ought to be followed while painting a motorcycle.
Preparation
It’s worth repeating here what the professionals always say; proper preparation guarantees a good finish. This also includes choosing a painting location, open or enclosed. If enclosed, ensure the walls and the floor are lined up with a plastic sheet to protect them from the paint. Place a fan strategically to direct excess paint out.
Arrange all the spanners and tools you may require to dismantle it for a good painting. You can as well cover up parts that need not come into contact with the paint with a thick paper. Sticking the thick paper on taillights, wheels, headlights, and chair with masking tape will ensure the paint doesn’t go past. In the preparation process, think about your final product. Which will be the theme color? Any patterns, lines, decals? Flat or flake color? Matte or gloss? This would help you know the necessities for the project.
Light up the painting location
Make sure there is good lighting as this ensures you have a view on every angle of your motorcycle. Add extra lights on the floor and around your ride. Alternatively, you can set up aluminum sheets on the wall or reflective mirrors. It has the same effect as adding lights.
Remove old paint
Before that, consider removing rust and old paint with sandpaper in a circular motion. Then apply a layer of well-mixed body filler on the sanded surface. Apply the filler in small patches till contented that the surface is excellent as the body filler dries up very quickly. Re-sand the surface again this time round ensuring it’s smooth.
Paint your motorcycle
A gas mask will come in handy as painting fumes can be toxic. The surface to be painted should be at relative temperatures with no dust as the paint maker recommends. Protect the motorcycle touch up paint surface from moisture and corrosion by applying two coats of epoxy primer. Blend the primer with a suitable hardener depending on the brand of the epoxy primer purchased.
Cautiously pour the solution into the spray gun. To get outstanding results, you can spray four or five layers. In 35 minutes time, the first, second and third layers will have dried. Repeat the procedure for every layer. Be sure to read the manufacturer’s instructions on the can.
After you have done your fourth and fifth layer, wait for 1 or 2 days for it to dry. The longer it takes, the better as this yields high results of a paint job.
You can now final paint your motorcycle after your original colors are dry to satisfaction. A gritty texture is often left after applying several coats. Use a rag dipped in a thinner to wipe it off and also clean your gun spray to prevent the formation of lumps on the surface. After applying a clear coat, your paint job will be done.

